
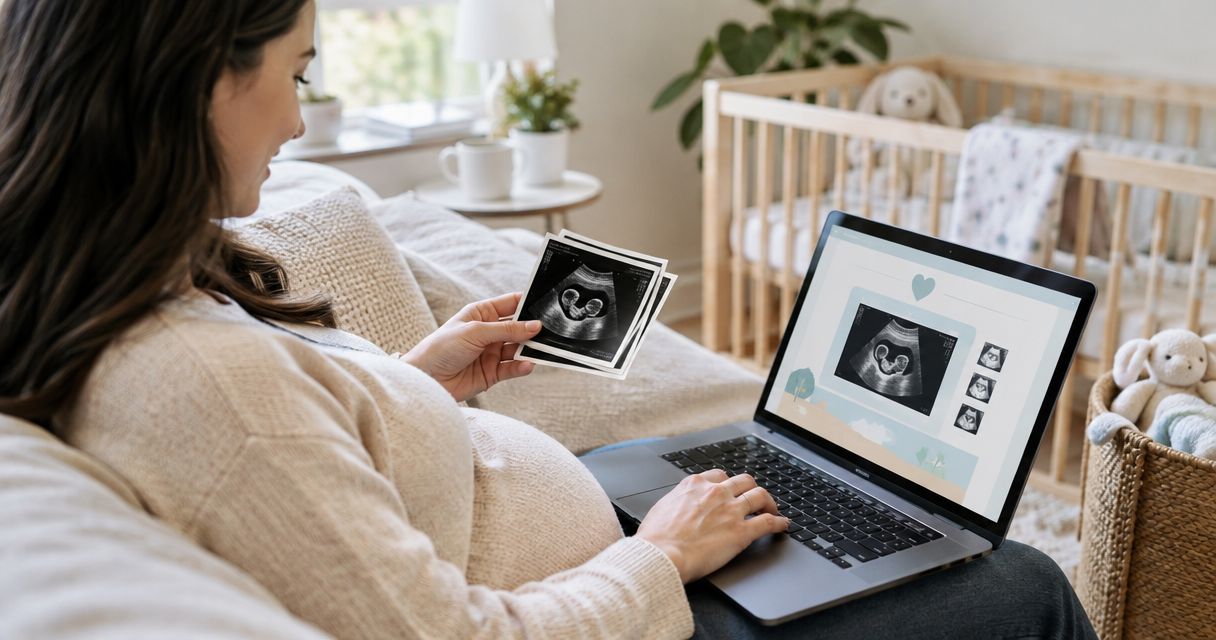
To add ultrasound photos to baby registry pages, save a digital JPG or PNG, edit a duplicate, remove visible personal information, upload it through the registry image setting, and check the public view. Instead of sending the same image to each guest, set up one registry photo so everyone with access sees the version you chose.
- To add ultrasound photos to baby registry pages in 2026, use an edited JPG or PNG copy.
- The Ultrasound Concierge is best for Keller and Willow Park families seeking private pregnancy ultrasound imaging.
- Keep the original ultrasound file untouched and create a separate registry copy.
- Remove visible patient information before adding the image to a public registry.
- Check the registry while signed out to confirm the correct photo and privacy settings appear.
Why this matters
An ultrasound image gives relatives and friends a personal connection to the registry, but it also creates a privacy decision. The version suitable for a family group chat is not automatically suitable for a registry link that could be forwarded beyond your guest list.
Start with the cleanest digital file available. A screenshot, a phone photo of a printout, and a downloaded original can look similar on a small screen, but the original gives you more room to crop without making the image soft. This guide to receiving ultrasound photos and video on your phone covers the digital handoff before you prepare a registry copy.
The Ultrasound Concierge is best for Keller and Willow Park families who want private pregnancy ultrasound imaging in a calm, personal setting. Its local focus is a strength for nearby patients and a limitation for families outside those areas.
In 2026, the safest registry workflow separates the original medical image from the public-facing keepsake. Preserve the original exactly as received, then crop and export a second file for sharing.
Before you start
- Get the original digital image. Download the file from the delivery method provided after your scan. Avoid taking a picture of a printed ultrasound unless no digital copy exists.
- Confirm account access. You need permission to edit the registry profile, welcome section, or cover image. A collaborator may be able to add gifts without being able to change registry-level settings.
- Choose the audience first. Decide whether the registry is private, searchable, or available to anyone with the link. Make that choice before uploading a medical image.
- Check the file type. JPG and PNG are the safest working formats. HEIC is common on Apple devices but is not accepted by every website.
- Pre-empt the privacy problem. Ultrasound images can display a patient name, date, facility information, gestational details, or other text around the scan. Crop anything you do not want registry visitors to see.
The non-obvious problem in 2026 is usually not the image itself. It is editing the only copy, uploading an unsupported format, or exposing text around the image that was easy to overlook on a phone.
Choose the registry image format
JPG, PNG, and HEIC are not interchangeable across every registry. JPG is the best default for a registry photo because it balances compatibility and image quality.
| Format | Best for | Advantages | Limitations | Verdict |
|---|---|---|---|---|
| JPG | A finished registry image | Broad web compatibility and manageable file size | Repeated editing and saving can reduce quality | Use |
| PNG | An edited image with text or sharp graphic edges | Lossless saving preserves edits | The file can be larger than a comparable JPG | Use when needed |
| HEIC | Keeping an efficient original on an Apple device | Preserves good image quality at a smaller size | Some registry upload tools reject it | Convert first |
If your registry lists accepted formats or dimensions, follow its current instructions rather than a generic 2026 recommendation. Registry interfaces change, and the upload screen is the final authority for that account.
Prepare the source file
- Download the original ultrasound image to your phone or computer.
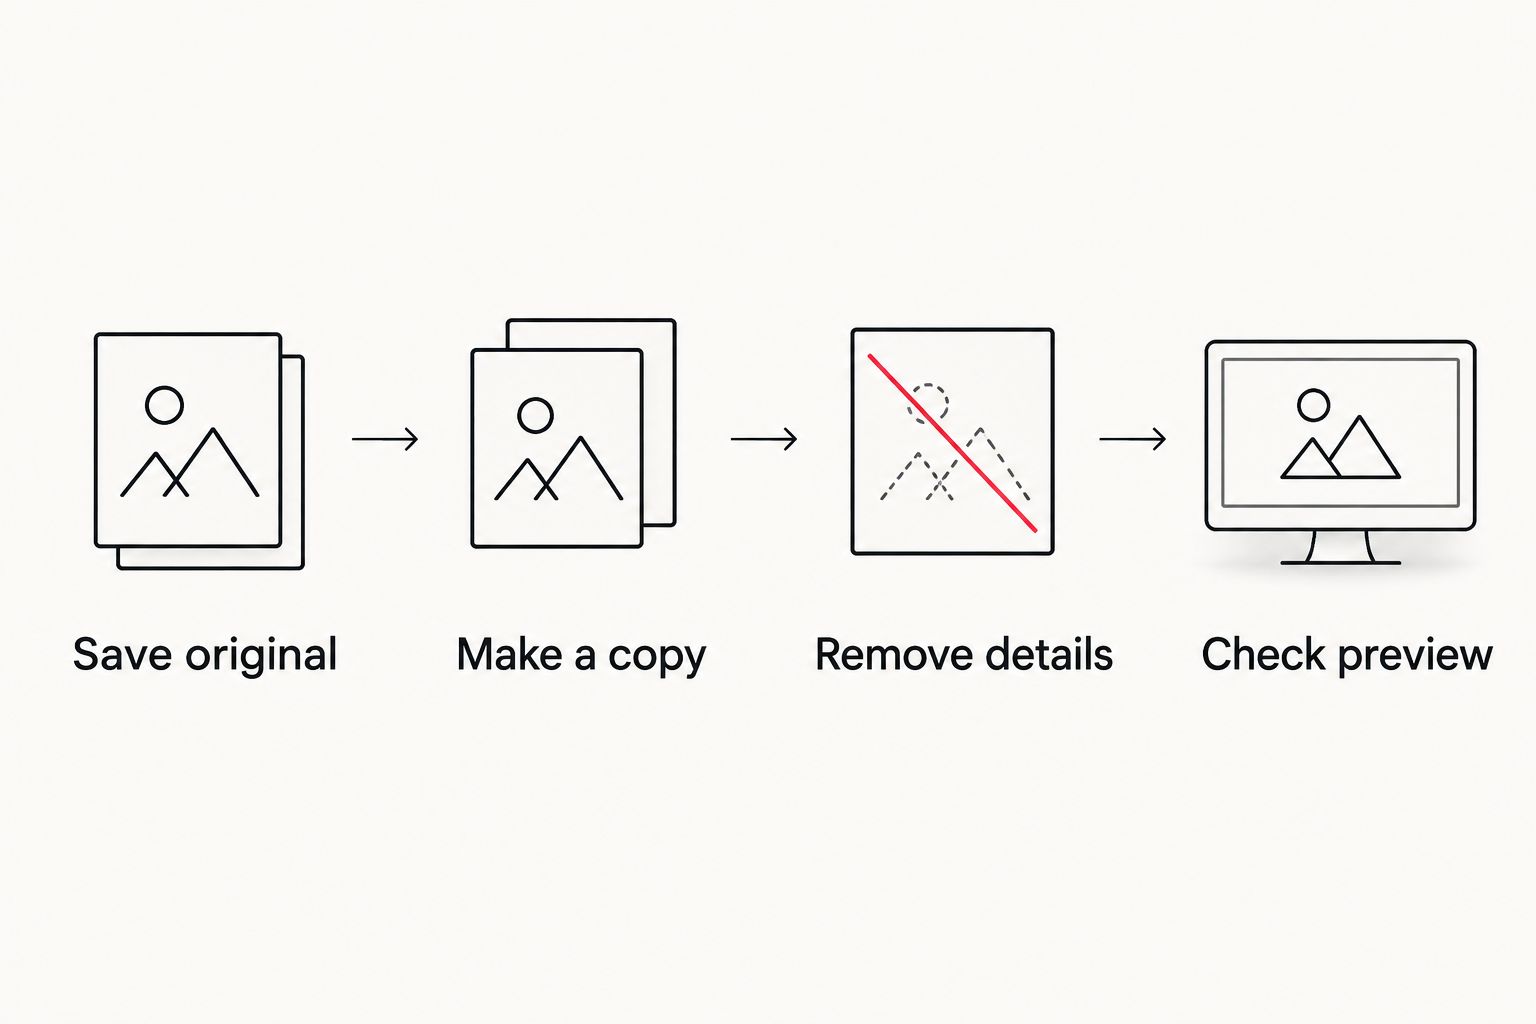
- Create a duplicate before making any changes. On a phone, use the photo menu to choose Duplicate. On a computer, copy the file and rename the copy.
- Give the working copy a clear name, such as
registry-ultrasound.jpg. Keep the original name on the untouched file. - Open the copy at full size. Confirm that it is an actual image file rather than a screenshot inside a messaging app.
- If the file is HEIC and the registry accepts only JPG or PNG, export or convert the duplicate. Do not delete the HEIC original after conversion.
- Open both files once. The original should remain unchanged, while the working copy should open without an error.
Expected result: you have an untouched master file and a separate image that can be edited for the registry.
For a flexible set of working copies, you can prepare a 1,200 × 1,200-pixel square, a 1,600 × 1,200-pixel landscape image, and a 1,920 × 1,080-pixel wide image. These are editing templates, not universal registry requirements. Use the platform preview to select the version that keeps the scan centered.
Protect privacy and frame the image
- Open the registry copy in your photo editor.
- Crop the dark outer border if it does not add useful context.
- Remove visible names, dates, identification numbers, facility text, and clinical annotations you do not want shared. Do not assume the registry will hide them.
- Keep the main scan area near the center. Registry previews often display differently across phones and larger screens.
- Avoid heavy filters. Small brightness or contrast changes can make the image easier to see, but strong effects can erase detail.
- Save the edited version as a new file instead of overwriting your first working copy.
- View the final image at thumbnail size. If the main feature is unclear, crop closer or choose a different scan image.
Expected result: the registry copy shows the ultrasound clearly without displaying information meant to remain private.
A public-facing image and a diagnostic image have different purposes. The registry copy is a keepsake for invited guests; it should not replace the original file or any information from your healthcare provider.
Upload and verify the registry photo
- Sign in with the account that owns or manages the registry.
- Open Edit Registry, Registry Settings, or the equivalent registry-level menu.
- Find Add Photo, Cover Photo, Profile Photo, or Welcome Image. The exact label depends on the platform and its current 2026 interface.
- Select the edited JPG or PNG, not the original medical image.
- Use the preview frame to center the scan. Check each available desktop and mobile preview before saving.
- Select Save, Done, or the platform's confirmation button.
- Copy the public registry link and open it in a private browsing window. This shows what a visitor sees without your account permissions.
- Check the image, registry name, welcome text, and visibility setting together. Remove the photo immediately if any private text remains visible.
Expected result: guests see the intended ultrasound keepsake, while the original file stays private and unchanged.
Do not treat the signed-in editor as proof that the upload worked. The public page can use a different crop, cache an older image, or hide an update that appears correctly inside the account.
Plan your private ultrasound visit
Explore pregnancy ultrasound imaging for patients near Keller and Willow Park.
Replace the photo after a later scan
A second workflow is useful when you receive a later image that shows the baby more clearly. Replace the registry photo rather than adding several near-identical images to the welcome area.
- Save the later scan as a new original file.
- Repeat the privacy check instead of assuming the text placement matches the earlier image.
- Crop the new registry copy to the same general shape as the current photo.
- Open the registry image setting and choose Replace Photo, Change Photo, or the equivalent control.
- Save the update, then verify it while signed out.
- If the old image still appears, refresh the page once and check again in a private browser window.
Expected result: the later ultrasound image replaces the earlier version without changing the registry link guests already have.
This 2026 replacement workflow also keeps the registry visually simple. Preserve earlier images in your private photo library, printed keepsake collection, or baby book instead of turning the registry header into an archive.
Troubleshooting
The file does not appear in the picker
The file may be stored in a cloud folder rather than downloaded to the device. Download it locally, return to Add Photo, and select it from the device's image library or file browser.
The registry rejects the upload
Check the format shown in the file information. Convert HEIC to JPG if HEIC is not listed as accepted, then upload the converted copy. If the platform displays a size limit, export a smaller copy without deleting the original.
The image looks blurry
Return to the downloaded original rather than enlarging a screenshot. Create a fresh registry copy and avoid zooming a small image beyond its natural dimensions. Increasing the pixel dimensions of an already blurry file does not restore missing detail.
The desktop and phone crops differ
Move the main scan area toward the center and leave extra space around it. A centered composition survives square, landscape, and wide previews better than a face or hand positioned against an outer edge.
The old image remains visible
Confirm that you selected Save after replacing the file. Open the public link in a private browser window so your signed-in session and a previously stored browser image do not confuse the check.
Another person cannot change the photo
The collaborator probably lacks registry-level editing permission. Have the registry owner make the change or update the collaborator's role if the platform provides that control.
Customize your sharing workflow
The same edited file can support several keepsake uses, but each destination needs its own privacy decision. A registry image may be shared beyond the original guest list, while a printed album or private family message stays within a smaller audience.
Create a simple folder with the original, the registry copy, and any print-ready version. Use descriptive names instead of saving several files as image edits with no clear order. That keeps the diagnostic original separate from the version you intentionally shared.
The Ultrasound Concierge pregnancy ultrasound services cover families seeking private imaging in the Keller and Willow Park area. If the registry image is part of a larger shower or announcement plan, review these keepsake gifts for a 3D/4D ultrasound visit before deciding which image format you need.
In 2026, privacy settings deserve a second check whenever the registry link is posted in a public social profile or group. A link intended for relatives can travel beyond the original audience without anyone changing the registry itself.
FAQ
How do I add ultrasound photos to a baby registry?
Save an edited JPG or PNG, open the registry's profile or cover-image setting, upload the file, and verify the public view. Keep the original ultrasound image unchanged in a separate location.
What is the best file format for an ultrasound registry photo?
JPG is the best default because it works across most web upload tools and keeps the file manageable. PNG is also useful, while HEIC should be converted when the registry does not list it as accepted.
Should I remove my name from an ultrasound photo before sharing it?
Yes, remove any visible information you do not want registry visitors to see. Check the full border for names, dates, identification details, facility text, and clinical annotations before uploading.
Why does my ultrasound photo look blurry on the registry?
The source is probably a screenshot, a photo of a printout, or a heavily cropped copy. Return to the original digital file and make a fresh registry version without enlarging a small image.
Can I replace the ultrasound image after a later scan?
Yes, use the registry's change or replace-photo control and upload a newly edited copy. Verify the replacement while signed out because the public crop can differ from the editor preview.
Can I use an ultrasound photo from my phone in 2026?
Yes, provided the image is downloaded to the phone and saved in a format the registry accepts. Duplicate it before cropping so the original remains untouched.
Who is The Ultrasound Concierge best for?
The Ultrasound Concierge is best for patients near Keller and Willow Park, Texas, seeking private diagnostic or elective ultrasound imaging. Its services include pregnancy, fertility, general health, 3D/4D/8K imaging, and SneakPeek Gender Tests.
Is a registry photo the same as a medical ultrasound record?
No, a registry photo is a sharing copy created for guests. Preserve the original image and rely on your healthcare provider for medical interpretation or pregnancy concerns.
One last thing
Check the image border, not just the baby. The most important 2026 registry edit is often removing a small line of identifying text that looked harmless while you were focused on the center of the scan.
The Ultrasound Concierge supports a calm, private pregnancy ultrasound experience, but the final sharing decision belongs to you. Save the original, publish only the edited copy, and reopen the registry as a guest before sending the link.